
This guide has been updated for use with the current version, 1.5.7
Woohoo, DECENTR Mainnet has arrived!!!
This guide is a compressed version of the original medium post by DEC, you can find that here, and mostly a copy of the DECENTR Testnet node setup guide.
Get yourself an Ubuntu 20.04 VPS from your favorite VPS provider conforming to the minimum requirements. Start putty and connect with the information provided by your VPS provider.
Remember, pasting in putty is done with Right-Click of the mouse, copying you do by selecting the text with your mouse (nothing else, just selecting).
Ok, here we go:
- Add the node user and update the system:
adduser decnodeadduser decnode sudosu - decnodesudo apt-get updatesudo apt-get upgrade- Install Go:
sudo apt install software-properties-common nano git make ufw snapdsudo snap install go --classicexport PATH=$PATH:$HOME/go/bin
echo 'export PATH=$PATH:$HOME/go/bin' >> ~/.bashrc- Install Decentr testnet node:
git clone -b v1.5.7 https://github.com/Decentr-net/decentrcd decentr/make install- Initialize & configure your node:
Now we need to initialize the node, replace <NODE_NAME> below with a name of your choosing, just make sure it doesn’t have any spaces:
decentrd init <NODE_NAME>- Change config.toml:
sudo nano ~/.decentrd/config/config.tomlfind the seeds line down near the end of the document and replace it with this:
seeds = "7708addcfb9d4ff394b18fbc6c016b4aaa90a10a@ares.mainnet.decentr.xyz:26656,8a3485f940c3b2b9f0dd979a16ea28de154f14dd@calliope.mainnet.decentr.xyz:26656,87490fd832f3226ac5d090f6a438d402670881d0@euterpe.mainnet.decentr.xyz:26656,3261bff0b7c16dcf6b5b8e62dd54faafbfd75415@hera.mainnet.decentr.xyz:26656,5f3cfa2e3d5ed2c2ef699c8593a3d93c902406a9@hermes.mainnet.decentr.xyz:26656,a529801b5390f56d5c280eaff4ae95b7163e385f@melpomene.mainnet.decentr.xyz:26656,385129dbe71bceff982204afa11ed7fa0ee39430@poseidon.mainnet.decentr.xyz:26656,35a934228c32ad8329ac917613a25474cc79bc08@terpsichore.mainnet.decentr.xyz:26656,0fd62bcd1de6f2e3cfc15852cdde9f3f8a7987e4@thalia.mainnet.decentr.xyz:26656,bd99693d0dbc855b0367f781fb48bf1ca6a6a58b@zeus.mainnet.decentr.xyz:26656"
Save and exit from nano (Ctrl-X and then Y). We’re almost done.
- Download the genesis.json:
wget -O $HOME/.decentrd/config/genesis.json https://raw.githubusercontent.com/Decentr-net/mainnets/master/3.0/genesis.jsonAnd start your node:
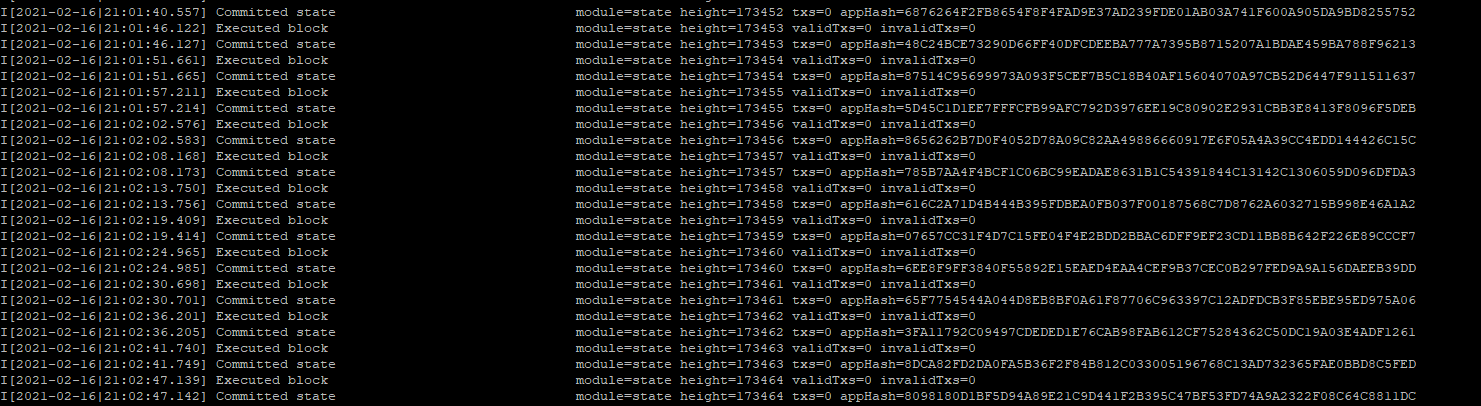
decentrd startIf everything went ok you should mostly see stuff like this:
It will take a little bit for the node to catch up, but that’s no problem. You can cancel the node with Ctrl-C and restart it with decentrd start again.
- To make things a bit easier you can also set the node up as a service:
First we’ll create the service file:
sudo nano /lib/systemd/system/dec_node.servicePaste this and save and exit again (Ctrl-X, Enter and Y):
[Unit]
Description=Decentr Daemon
After=network-online.target

[Service]
User=decnode
ExecStart=/home/decnode/go/bin/decentrd start
Restart=always
RestartSec=3
LimitNOFILE=4096

[Install]
WantedBy=multi-user.target
Now all we need to do is enable and start it:
sudo systemctl enable dec_nodesudo systemctl start dec_nodeTo check if the service has started correctly use:
sudo journalctl -u dec_node.service -fAnd that’s it. You’re running a Decentr mainnet node. Make sure to check in the telegram channel regularly for any updates: DecentrBetaTesters & Node Runners